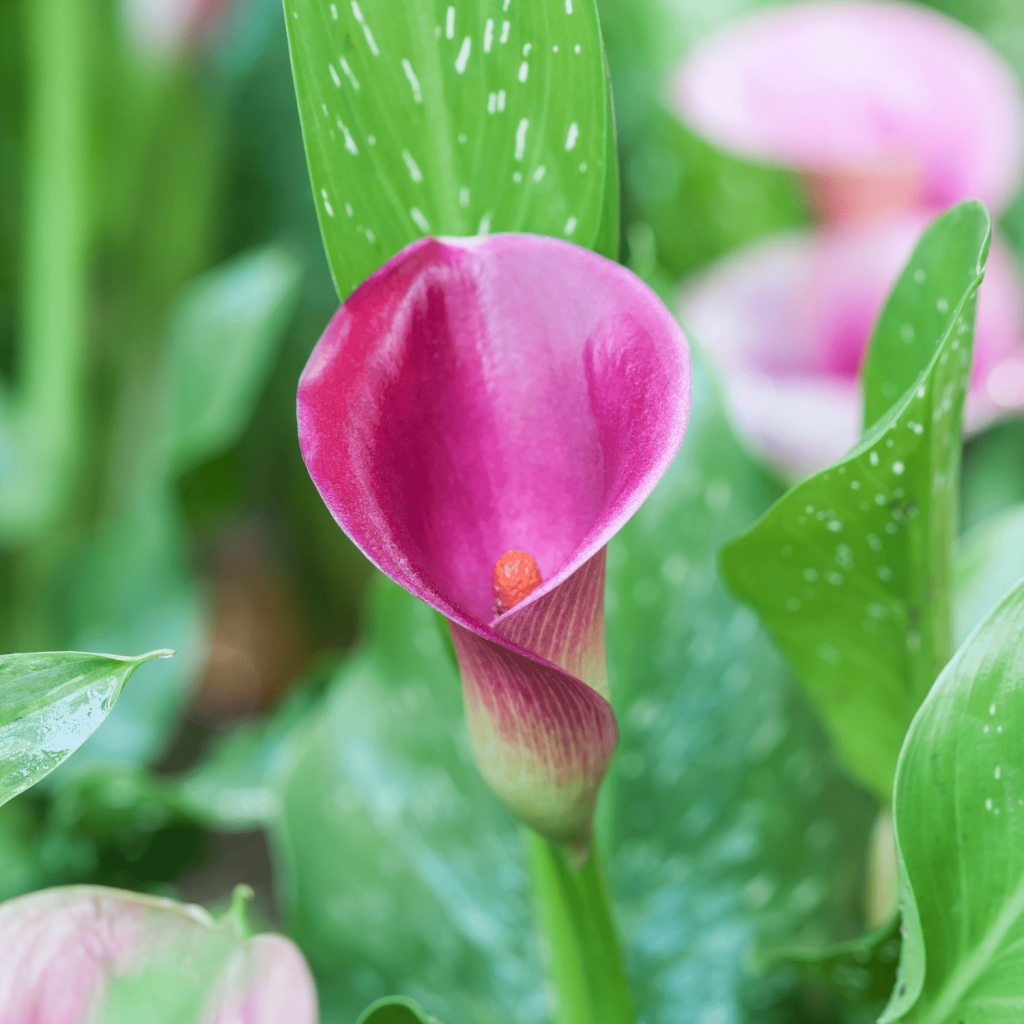
Imagine stepping into your garden and being greeted by the elegant beauty of calla lilies. These stunning flowers, with their graceful curves and vibrant colors, can transform any space into a serene oasis.
But how do you ensure your calla lilies thrive and bloom beautifully year after year? You might have tried other plants before, only to watch them wilt away, but calla lilies are different. They have a unique charm and resilience, making them easier to care for than you might think.
In this guide, you’ll discover the secrets to nurturing your calla lilies to perfection. You’ll learn the simple steps to provide the right environment, the best watering techniques, and even how to protect them from common pests. As you follow these tips, picture your garden bursting with life, where each calla lily stands proud and healthy. Dive into this article to uncover the joy of growing these captivating flowers, and let your garden be the envy of all who see it. Are you ready to transform your gardening experience? Let’s get started!
Choosing The Right Calla Lilies
Choosing the right calla lilies ensures vibrant blooms and healthy growth. This decision involves selecting the ideal variety and checking their quality. Understanding these aspects will help you cultivate beautiful calla lilies that thrive in your garden.
Variety Selection
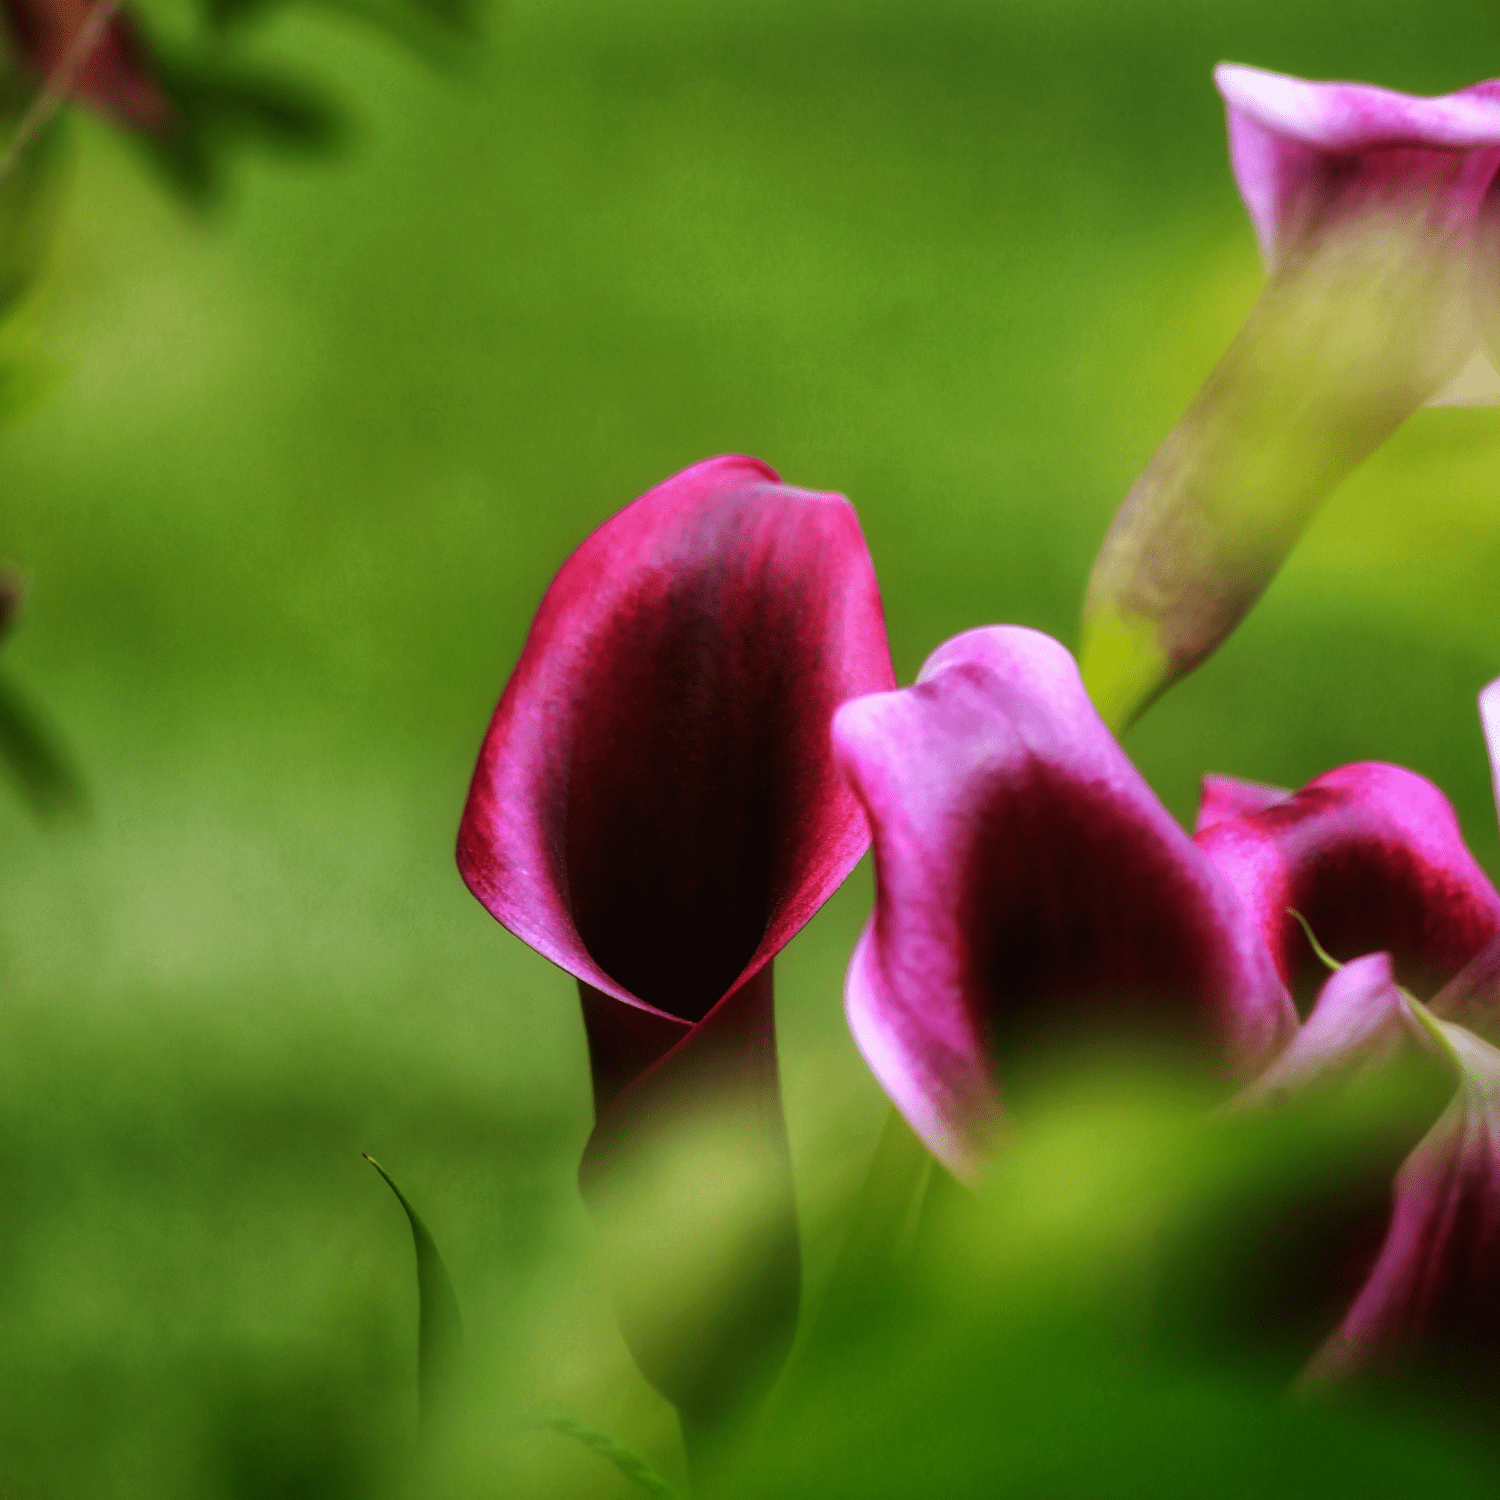
Calla lilies come in a range of colors and sizes. White callas are classic and elegant, perfect for weddings. Pink and purple varieties add charm to gardens. Choose based on your climate and garden’s aesthetic. Some varieties thrive better in warm climates. Others prefer cooler regions. Consider the blooming season to match your garden’s needs.
Quality Check
Inspect the bulbs or plants before purchase. Look for firm, healthy bulbs. Soft or moldy bulbs indicate poor quality. Check leaves for signs of disease. Yellowing or spots suggest unhealthy plants. Healthy calla lilies have lush, green leaves. Ensure roots are strong and not dry. Quality plants lead to successful growth and stunning blooms.
Credit: dutchflowerbulbs.com
Ideal Growing Conditions
Calla lilies are elegant flowers that need specific conditions to thrive. Understanding these conditions ensures your lilies bloom beautifully. Let’s explore what makes the perfect environment for these stunning plants.
Temperature Needs
Calla lilies prefer moderate temperatures. Keep them in a range of 60 to 75°F. This range mimics their natural habitat. Avoid placing them in areas with extreme temperature changes. Cold drafts or direct heat can harm them. During winter, keep them indoors if outdoor temperatures drop below 50°F.
Humidity Requirements
Calla lilies thrive in environments with moderate humidity. Aim for a humidity level around 50%. If you live in a dry area, consider using a humidifier. Misting the leaves occasionally can also help. Be careful not to overdo it, as too much moisture can cause rot. Ensuring proper drainage will maintain the right balance.
Planting Calla Lilies
Ensure calla lilies receive plenty of sunlight and well-drained soil. Water them regularly, but avoid overwatering. Keep the soil moist, especially during their growing season.
Planting Calla Lilies Are you dreaming of a garden adorned with the elegant blooms of calla lilies? These stunning flowers, known for their graceful curves and vibrant colors, can transform any outdoor space into a serene paradise. To ensure your calla lilies thrive, it’s crucial to start with the right planting techniques. Let’s dive into the essentials of planting calla lilies, so you can enjoy their beauty all season long.Soil Preparation
Before you get your hands dirty, focus on the foundation—your soil. Calla lilies prefer well-drained soil that’s rich in organic matter. Consider mixing in some compost or aged manure to boost nutrient levels. Check the pH level, aiming for a slightly acidic to neutral range (6 to 7). This ensures the lilies have the right environment for optimal growth. Don’t forget, a little preparation now means a bounty of blooms later.Proper Planting Techniques
Timing matters when planting calla lilies. Aim to plant in spring, just after the last frost. This gives them a full growing season to establish themselves. When planting, dig a hole about 4 inches deep. Place the bulb with the pointed end facing upwards. Cover it gently with soil and water thoroughly. Spacing is key; keep bulbs about 12 inches apart to allow for proper air circulation and growth. This prevents overcrowding and ensures your lilies have room to breathe and bloom. Have you ever noticed how a little extra care in planting can make a huge difference in the garden’s vibrancy? Embrace these techniques, and watch your calla lilies flourish.Watering Guidelines
Watering your calla lilies correctly is crucial for their growth. These elegant flowers need a balanced watering routine. Too much or too little water can harm them. Understanding the right way to water them ensures they thrive beautifully.
Frequency Of Watering
Calla lilies need consistent moisture. Water them once a week. This keeps the soil slightly damp. During hotter months, increase watering to twice a week. Ensure the top inch of soil dries out between waterings. This prevents soggy soil.
Signs Of Overwatering
Overwatering can damage calla lilies. Watch for yellowing leaves. This is a common sign of excess water. Wilting leaves can also indicate too much moisture. Check for soggy soil. It should feel damp, not wet. Reduce watering if these signs appear.
Fertilizing Calla Lilies
Enhance the growth of Calla Lilies by applying a balanced fertilizer monthly. Choose a fertilizer with equal parts nitrogen, phosphorus, and potassium. Ensure the soil is moist before fertilizing to prevent root burn.
Fertilizing Calla Lilies is essential for their vibrant blooms and healthy growth. These elegant flowers thrive when given the right nutrients. Proper fertilization enhances their beauty and longevity. Understanding the basics of fertilizing can transform your garden.Choosing Fertilizer
Selecting the right fertilizer is crucial for Calla Lilies. Opt for a balanced, water-soluble fertilizer. Look for one with equal parts nitrogen, phosphorus, and potassium. This ensures all-round nourishment. Organic options like compost can also be beneficial. They provide slow-release nutrients. Always check labels for essential micronutrients. Iron and magnesium are vital for vibrant foliage. Avoid high-nitrogen fertilizers. They can encourage excessive leaf growth over flowers.Application Timing
Timing is key in fertilizing Calla Lilies. Begin feeding them in early spring. This supports their initial growth phase. Continue fertilizing every four weeks during the growing season. Stop fertilization in late summer. This allows the plant to prepare for dormancy. Apply fertilizer after watering the soil. This helps nutrients penetrate effectively. Be cautious in applying during flowering. Excess fertilizer can harm blooms. Always follow package instructions for dosage. Proper timing ensures a thriving display of Calla Lilies.Pruning And Maintenance
Pruning and Maintenance Regularly remove dead leaves and spent blooms from calla lilies to encourage healthy growth. Trim back any yellowing foliage to enhance the plant’s appearance.
Pruning and maintenance of calla lilies are essential to ensure their vibrant blooms and healthy growth. These beautiful flowers, known for their elegant appearance, require a bit of attention to thrive. By focusing on deadheading and managing foliage, you can keep your calla lilies looking their best throughout the growing season.Deadheading Flowers
Removing spent blooms, a process known as deadheading, is crucial for calla lilies. This practice not only enhances their appearance but also encourages new growth. As soon as you notice a flower wilting, gently snip it off at the base. This prevents the plant from wasting energy on seed production and instead, channels it towards producing new blossoms. It’s a task that can be both therapeutic and rewarding. Picture yourself in a garden, surrounded by these graceful flowers, each snip bringing a promise of more blooms. Can you already see the difference in your garden?Managing Foliage
Calla lilies have lush, green foliage that adds to their charm. However, managing this foliage is essential to prevent diseases and promote healthy growth. Keep an eye out for yellowing leaves, which can indicate overwatering or inadequate sunlight. Trim these leaves to maintain the plant’s health. Regularly inspect the leaves for signs of pests or damage. If you spot anything unusual, it might be time for a closer look or even some preventive treatment. Remember, healthy leaves are the backbone of vibrant calla lilies. Consider the impact of foliage on the overall aesthetics of your garden. Are the leaves adding to the beauty or detracting from it? Take action accordingly, and your calla lilies will thank you with stunning blooms.Pest And Disease Management
Proper care keeps calla lilies healthy and vibrant. Regularly inspect leaves for signs of pests or diseases. Use natural remedies or consult experts for effective management.
Pest and disease management is crucial for healthy calla lilies. These elegant flowers can suffer from pests and diseases. Proper care keeps them vibrant and thriving.Common Pests
Calla lilies attract several common pests. Aphids, spider mites, and slugs are typical invaders. Aphids are tiny insects that suck plant sap. They cause leaves to curl and stunt growth. Spider mites are hard to see but leave tiny webs on leaves. Slugs chew holes in leaves, leaving unsightly damage. Regularly inspect your plants. Remove pests by hand or use insecticidal soap for severe infestations.Disease Prevention
Diseases can also harm calla lilies. Root rot and gray mold are common issues. Root rot occurs in overwatered, poorly drained soil. It causes yellowing leaves and wilting. Ensure soil drains well and avoid excessive watering. Gray mold appears as fuzzy gray spores on leaves and flowers. Improve air circulation around plants to prevent mold. Remove and dispose of infected parts immediately. This stops the spread and keeps your lilies healthy.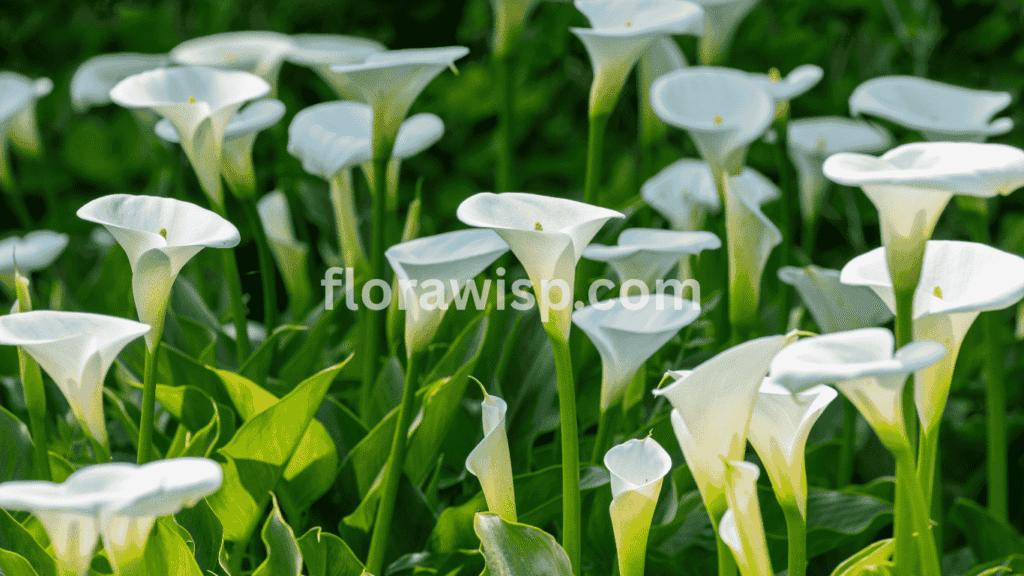
Credit: florawisp.com
Seasonal Care Tips
Taking care of calla lilies throughout the year requires understanding their seasonal needs. Proper care ensures these stunning flowers thrive, showcasing their vibrant blooms and lush foliage. By adjusting your care routine according to the season, you can enjoy healthy and flourishing calla lilies year-round.
Winterizing Calla Lilies
As the temperatures drop, it’s essential to prepare your calla lilies for winter. If you live in a region where the ground freezes, dig up the rhizomes before the first frost. Gently clean off any soil and let them dry for a few days in a well-ventilated area.
Once dried, store the rhizomes in a cool, dark place. You might use peat moss or sawdust to keep them dry and prevent rot. Check them periodically over the winter months for any signs of mold or decay.
If your climate is mild, you can leave calla lilies in the ground. Just add a thick layer of mulch to protect them from potential cold snaps. Does your winterization routine give your plants the rest they need?
Summer Care
During the summer, calla lilies demand more attention to ensure they stay hydrated. Water them regularly, especially during hot, dry spells. However, avoid waterlogging the soil, as this can cause root rot.
Fertilize your calla lilies every month with a balanced liquid fertilizer. This encourages robust growth and vibrant blooms. Pinching back any spent flowers will also promote new growth and keep your plants looking fresh.
Are you noticing any yellowing leaves? This could be a sign of overwatering or nutrient deficiency. Adjust your care routine to keep your calla lilies looking their best all summer long.
Propagation Techniques
Propagation techniques for calla lilies involve dividing the rhizomes. Ensure each section has roots and a growing tip. Plant them in well-drained soil and provide moderate sunlight for healthy growth.
Propagation Techniques Calla lilies can bring elegance to any garden. Propagating them ensures you have more of these beautiful blooms. Two effective methods exist for calla lily propagation.Dividing Rhizomes
This is a common method for calla lilies. First, gently dig up the plant. Be careful not to damage the roots. Shake off excess soil. Look for natural divisions in the rhizomes. Use a sharp knife to separate them. Each division should have a healthy growth bud. Replant the rhizomes in well-draining soil. Water them thoroughly after planting. This helps them establish quickly.Seed Propagation
Seed propagation takes longer but is rewarding. Start by collecting seeds from mature calla lilies. Dry them for a few days. Sow the seeds in a seed-starting mix. Cover lightly with soil. Keep the soil moist but not soggy. Place the container in a warm area. Germination can take several weeks. Once seedlings appear, ensure they get enough light. Transplant them when they are strong enough. This method lets you enjoy the full growth cycle.
Credit: cclanddesign.com
Troubleshooting Common Issues
Proper watering and sunlight are key for healthy calla lilies. Watch for wilting leaves; adjust water levels accordingly. Ensure the soil drains well to prevent root rot.
Taking care of calla lilies can be a rewarding experience, but sometimes these beautiful flowers present unexpected challenges. Understanding how to troubleshoot common issues is crucial for maintaining their vibrant appearance. Whether you’re a seasoned gardener or a beginner, addressing problems like yellowing leaves and poor flowering can make all the difference in your calla lily care routine. Let’s dive into these issues and learn how to resolve them effectively.Yellowing Leaves
Yellowing leaves often indicate that your calla lilies are experiencing stress. This stress can arise from overwatering, poor drainage, or inadequate sunlight. Are you watering your plants too frequently? Calla lilies prefer moist soil, but too much water can lead to root rot. Check the soil’s moisture level by touching it; if it’s soggy, reduce watering. Another factor could be the lack of sunlight. Calla lilies thrive in bright, indirect light. If your plant is in a shaded area, try relocating it to a spot with better light exposure. Consider the room temperature as well. Excessive heat can cause leaf discoloration. Maintain a comfortable temperature around your lilies to ensure healthy growth.Poor Flowering
Have you noticed your calla lilies not blooming as expected? This issue could be linked to nutrient deficiencies. Calla lilies need a balanced fertilizer to promote blooming. You might want to apply a slow-release fertilizer every few weeks during the growing season. This will provide the necessary nutrients to encourage healthy flower production. Another common problem is insufficient dormancy periods. Calla lilies require a rest phase to flourish in the next season. Ensure your lilies have a dormant period by reducing watering and allowing the foliage to die back naturally. This gives the plant a chance to recharge and produce stunning blooms. Remember, gardening is an ongoing learning experience. What steps will you take to ensure your calla lilies thrive?Frequently Asked Questions
How Do You Care For Potted Calla Lilies?
Water calla lilies regularly, keeping the soil moist but not soggy. Ensure good drainage to prevent root rot. Place in bright, indirect sunlight. Fertilize monthly during the growing season. Trim faded flowers to encourage new blooms. Move indoors if temperatures drop below 50°F.
How Long Do Potted Calla Lilies Last?
Potted calla lilies typically last for several weeks indoors. With proper care, they can bloom for 6 to 12 weeks. Ensure they receive bright, indirect light and maintain moist, well-drained soil. After blooming, they need a rest period before flowering again.
Are Calla Lilies An Indoor Or Outdoor Plant?
Calla lilies thrive both indoors and outdoors. Indoors, they need bright, indirect light and well-drained soil. Outdoors, they flourish in warm climates, preferring partial shade and moist soil. Proper care ensures vibrant blooms in either setting. Consider temperature and sunlight for optimal growth.
Do You Cut Off Dead Calla Lily Flowers?
Yes, cut off dead calla lily flowers to encourage new blooms. Use clean, sharp scissors to prevent disease. Regularly removing faded flowers promotes healthy growth and maintains the plant’s appearance.
Conclusion
Calla lilies add elegance to any garden. Caring for them is simple. Water them sparingly, avoiding soggy soil. Ensure they get bright, indirect sunlight. Use well-draining soil to keep roots healthy. Regularly remove faded blooms to encourage new growth. Fertilize them lightly during the growing season.
Protect them from frost to prolong their life. With these tips, your calla lilies will thrive beautifully. Enjoy the graceful blooms in your space. Remember, a little care goes a long way. Your garden will thank you with vibrant flowers.
Happy gardening with your calla lilies!